
Last updated November 15, 2026
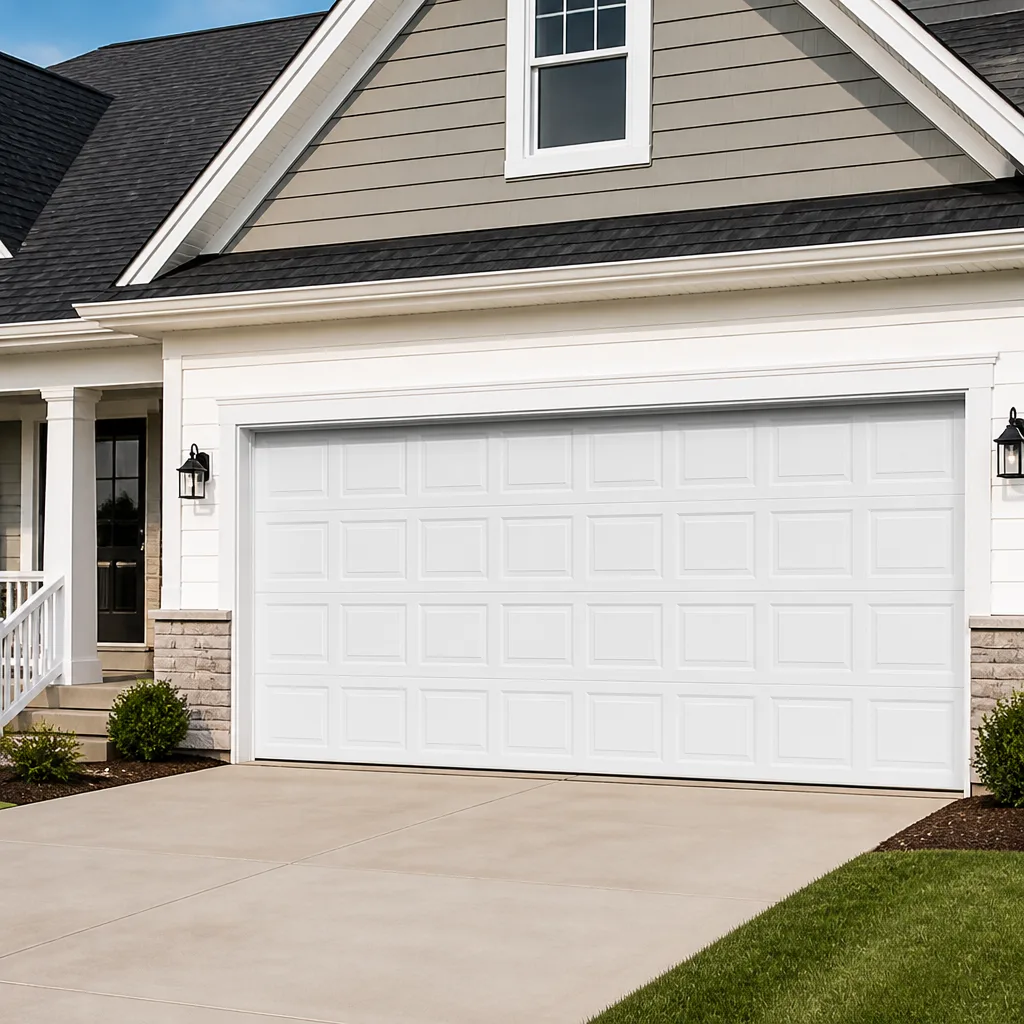 Raised-panel steel
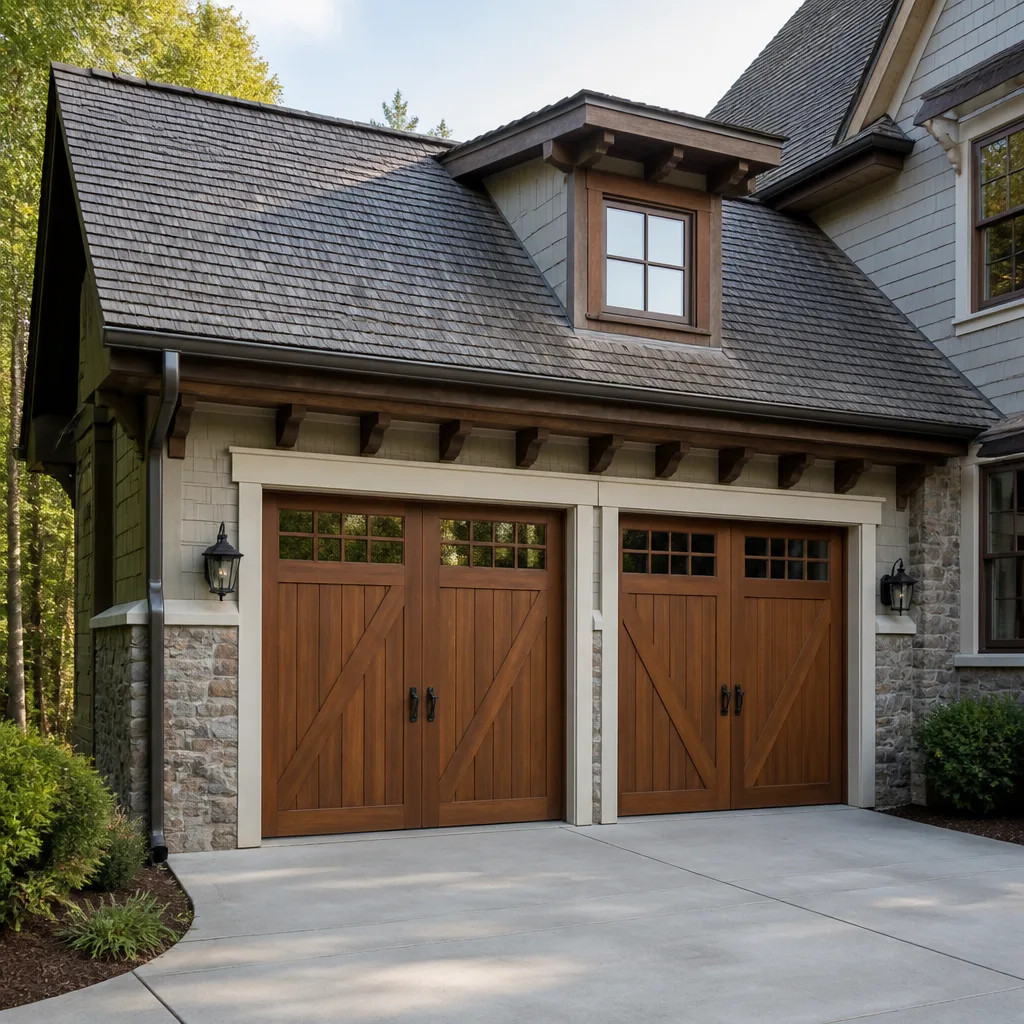 Carriage house
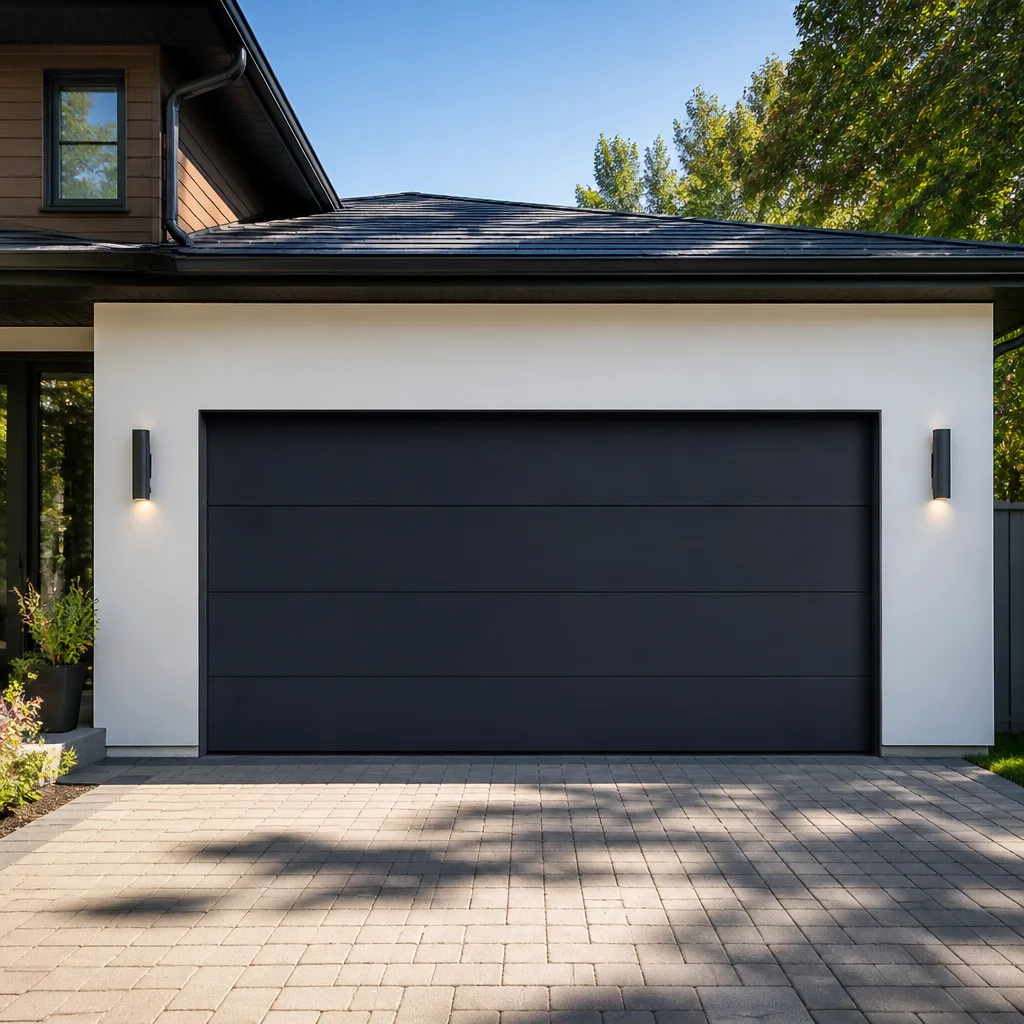 Modern flush
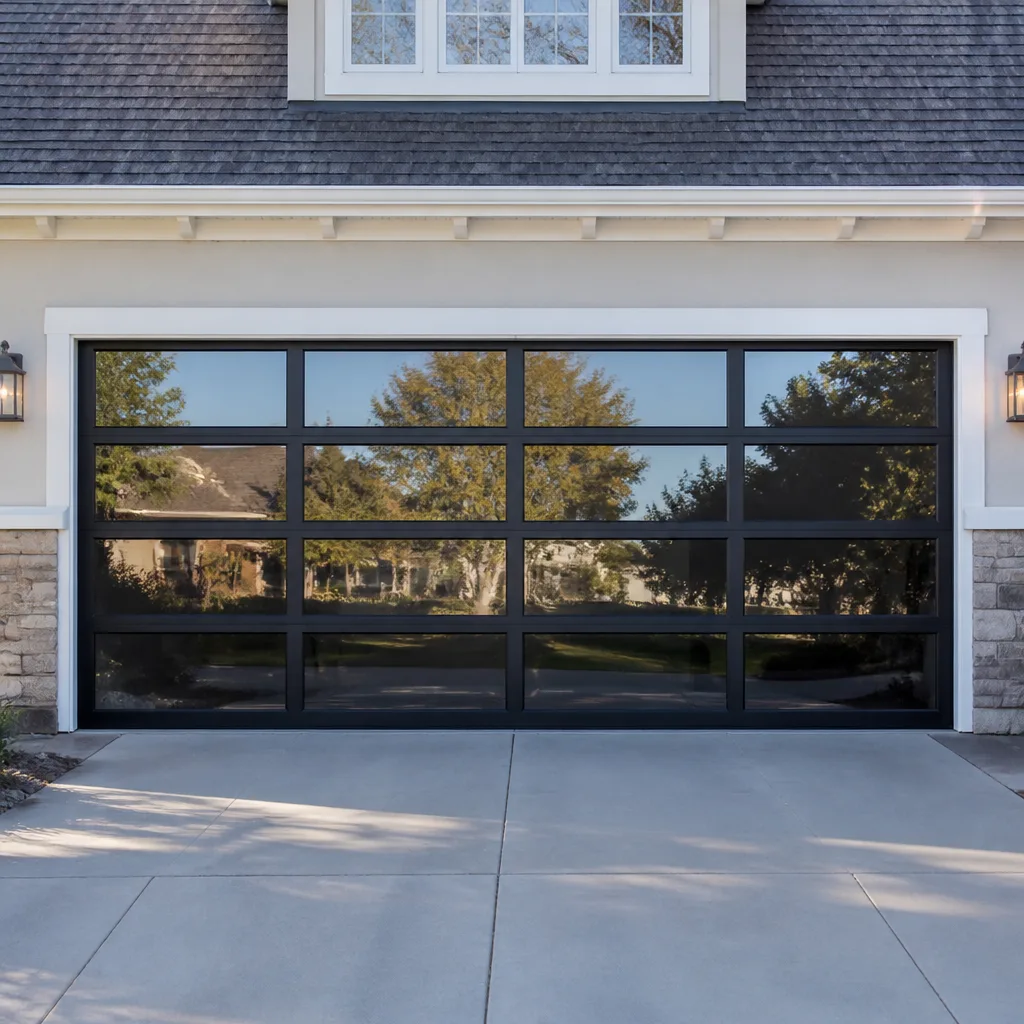 Full-view glass
 LiftMaster openers
 Chamberlain openers
Full 25-point door and opener safety check with every visit - springs, cables, rollers, tracks, and your LiftMaster or Chamberlain opener included
You get a price before we start. It does not change when the pro arrives.
Get your free estimateGarage Door Repair Troubleshooting in Boise City: Common Problems and How to Fix Them
A door that reverses before it touches the floor and a door that won’t budge at all look like completely different failures. In Boise City, they often aren’t. The same cold snap that makes metal contract can knock your limit settings out of position and pull your safety sensors out of alignment in the same afternoon, so the door behaves strangely in two ways at once and you end up replacing parts that were never broken. This guide teaches you to read the door’s behavior like a technician does – symptom first, system second, part last – so you fix the actual cause on the first try and know exactly which jobs belong in your hands and which don’t.
Quick Answer
Most garage door problems in Boise City trace back to one of four systems: the springs and cables that carry the door’s weight, the tracks and rollers that guide it, the opener and its logic board, or the safety sensors at the floor. Diagnose by behavior – reverses, stutters, grinds, or goes silent – and that pattern tells you which of the four to inspect first. Anything involving torsion springs, cables, or cable drums is a specialist job; everything else you can safely check and often adjust yourself.
Styles & brands we work with
- Raised-panel steel
- Carriage house
- Modern flush
- Full-view glass
- LiftMaster openers
- Chamberlain openers
Table of Contents
- How to Read Your Door’s Behavior Like a Technician
- Why Boise City’s Freeze-Thaw Cycles Warp Tracks
- The 30-Second Manual Release Test
- Which Repairs Are Safe for You and Which Need a Specialist
- Brand-Specific Quirks: Same Blink, Different Meaning
- Safety Sensors and Photo-Eye Alignment
- Opener Troubleshooting: Remote, Wall Button, and Motor
- Repair or Replace? A Boise City Decision Guide
How to Read Your Door’s Behavior Like a Technician
Every garage door failure announces itself through a pattern, and the pattern narrows the cause faster than any part-swapping ever will. When you call us for garage door repair in Boise City, the first thing a technician does is run the door and watch it, not reach for a wrench. You can do the same thing before anyone arrives.
Work through this diagnostic sequence in order:
- The door reverses before it reaches the floor. Nine times out of ten this is a sensor or limit setting problem, not a mechanical one. Look at the two photo-eye lenses near the floor and check for misalignment, dust, or an object in the beam path. In Boise City, cold contraction can shift a bracket enough to break the beam without anything physically moving.
- The door starts up, stutters, and stops. Usually a binding track, a worn roller, or a torsion spring that’s lost tension. If the door feels unusually heavy when you lift it by hand (with the opener disconnected), suspect the springs before anything else.
- The door grinds or squeals while moving. Metal-on-metal noise points at rollers, hinges, or a track that’s out of alignment. This one is worth catching early because a grinding roller chews up the track it runs in.
- The door doesn’t respond at all. Power, remote battery, wall button wiring, or a tripped opener logic board. Start at the outlet and the circuit breaker, then the wall button, then the remote.
- The door moves a few inches and reverses. Almost always the safety sensor system or the travel limits. This is the single most common misdiagnosed symptom we see in Boise City, because homeowners assume the opener motor is failing when the sensors are simply dirty.
The reason this sequence works is that it separates electrical symptoms (reverses, no response) from mechanical symptoms (stutters, grinds). Once you know which side of the system you’re on, the rest of the diagnosis gets short.
Why Boise City’s Freeze-Thaw Cycles Warp Tracks
Boise City sits in a high desert valley, which means big temperature swings between day and night, especially in spring and fall. Metal expands when it warms and contracts when it cools, and a garage door’s vertical tracks are long steel rails bolted to a wall that’s also moving with the seasons. Over enough cycles, that movement loosens the brackets and lets the tracks drift out of plumb. That’s the mechanism behind most track problems in Boise City – not impact damage, not poor installation, just repeated expansion and contraction working on fasteners.
Here’s how to spot a track that’s starting to warp before it bends a roller:
- Stand inside the garage with the door closed and sight up each vertical track like a rifle barrel. A straight track looks like an even line; a warped one bows noticeably in the middle or at the top bracket.
- Watch the door as it travels. If one side reaches the top before the other, the tracks have drifted out of parallel.
- Listen for a rhythmic scraping or a pop at the same height every cycle – that’s a roller hitting a kink in the track at a fixed point.
- Check the bolts that hold the track brackets to the wall. On a Boise City door that’s been through a few winters, those bolts have a tendency to work loose as the wall and the steel move at different rates.
- Run your hand (carefully, with the door stationary) along the inside edge of the track. Any rough spot or flat section where a roller has been riding crooked is a track that needs attention.
A slightly loose bracket can often be tightened and the track re-squared without replacement. A track that’s visibly bowed or has a sharp kink won’t straighten reliably, and a bent track will destroy rollers fast. That’s the point where it’s cheaper to replace the section than to keep feeding it new rollers. If your door has already gone through a roller or two this season, the track is usually the real culprit.
The 30-Second Manual Release Test
This is the single fastest way to know whether your problem is mechanical (the door itself) or electrical (the opener). Every opener has a manual release cord, usually a red handle hanging from the carriage. Pulling it disconnects the door from the opener so you can move the door by hand.
- Close the door and make sure no one is standing in its path.
- Pull the manual release cord straight down until it clicks and the carriage disconnects.
- Lift the door by hand about halfway. A properly balanced door should move with modest effort and hold its position when you let go.
- If the door is very heavy, or drops when you let go, the problem is mechanical – springs or balance – and the opener was never the issue.
- If the door lifts easily and holds, but won’t run from the opener, the problem is electrical – sensors, wiring, limits, or the opener itself.
- Reconnect the carriage by running the opener until it engages, or by lifting the door until the carriage snaps back in.
This test settles the mechanical-versus-electrical question in half a minute, and it saves an enormous amount of wasted effort. We’ve had homeowners tell us they replaced a remote battery, reset their opener, and cleaned their sensors before discovering the door itself was so heavy from a failing spring that no opener could have lifted it. The manual release test would have told them that immediately.
One caution: only lift the door by hand if the springs still appear intact. If you can see a separated spring coil or a slack cable, stop and don’t force the door. That’s a load you shouldn’t be handling.
Which Repairs Are Safe for You and Which Need a Specialist
This is the part most troubleshooting guides get wrong, so let’s be direct about it. Some repairs are genuinely safe for a homeowner with basic tools. Others carry real injury risk and belong with a trained technician, every time.
Safe for most homeowners
- Cleaning and realigning safety sensors (wipe the lenses, nudge the brackets, check the indicator lights).
- Replacing remote batteries and reprogramming remotes to the opener.
- Lubricating rollers, hinges, and the torsion spring with a proper garage door lubricant.
- Tightening loose track bracket bolts when the track itself is still straight.
- Adjusting the opener’s travel and force limits, following the opener’s manual.
- Clearing obstructions and debris from the door’s path and the tracks.
Stop and call a specialist
- Torsion springs. A torsion spring holds the door’s entire weight under stored tension – often hundreds of pounds of it. If you try to wind or unwind one with the wrong tools or without the right technique, the spring can release that energy instantly. Hand and face injuries from torsion springs are serious and common. This isn’t a job where “being careful” is enough.
- Cable drums and lift cables. The cables run under the same tension as the springs and can snap with enough force to cause severe injury. Never cut, loosen, or remove a cable under load.
- Replacing a torsion spring with a different size. Springs are rated by wire gauge, inside diameter, and length, and the wrong spring will either fail early or overload the opener. Matching requires understanding cycle ratings, not just measuring length.
- Any structural work on the door panel, hinges, or bottom section under tension – the bottom brackets anchor the cables and are particularly dangerous.
Our technicians have up to experience working with springs and cable systems, and we still treat every torsion job with the same routine. That tells you something about how much respect this hardware deserves. The honest rule: if the repair involves releasing stored tension, hand it to a professional.
Brand-Specific Quirks: Same Blink, Different Meaning
Diagnostic codes don’t come from one universal standard. Each manufacturer programs its own logic board, so an identical blink pattern on two different brands can mean two completely different things. If you look up a “ten blinks” answer online and apply it to the wrong brand, you’ll chase a problem that doesn’t exist.
Two examples that come up constantly:
- A LiftMaster or Chamberlain opener blinking ten times is the logic board telling you the safety sensor system isn’t functioning – the beam is blocked or interrupted, or one of the sensors has lost power. That usually sends you to the photo eyes, the wiring at the sensors, or the bracket alignment.
- A Craftsman or a Wayne Dalton opener accessory showing the same rapid blink pattern may be reporting something entirely different – a remote programming issue, a travel limit fault, or a control panel error. Applying the LiftMaster diagnosis to a Craftsman unit sends you to the sensors when the actual fault is in the wall control wiring.
This is why brand fluency matters more than people expect. We work daily with LiftMaster, Chamberlain, Genie, Clopay, Amarr, Wayne Dalton, Craftsman, and Raynor equipment, so when a Raynor trips a fault code we’re reading it against the right manual, not guessing. Most homes in Boise City already have one of these brands installed, and a specialist who knows all eight can diagnose without a brand-compatibility detour. If your opener is the problem rather than the door, dedicated garage door opener repair handles the electronics side properly.
The practical advice: find your opener’s model number on the label on the back of the housing or under the light lens, then look up the code for that exact model. Generic “ten blinks” answers have probably caused more misdiagnosed sensor replacements than any other single thing.
Safety Sensors and Photo-Eye Alignment
The two photo-eye sensors near the floor reflect an invisible beam across the door opening, and if anything interrupts it, the door won’t close or will reverse immediately. In Boise City, sensor problems spike with the seasons, because the metal brackets holding the sensors move just like the tracks do when temperatures swing. A bracket that was perfectly aligned in summer can be a few degrees off by January.
Working through sensor troubleshooting in order:
- Look at the LED lights on both sensors. Most units have a sending and a receiving eye, and both should show a solid light when the beam is clear. One blinking or dark usually means the sender isn’t powering or the beam isn’t reaching the receiver.
- Wipe both lenses with a soft cloth. Dust, cobwebs, and bug debris are common causes, and the beam is easy to block with something smaller than you’d expect.
- Check that both eyes are aimed at each other. Loosen the wing nut or bracket screw slightly and adjust so the receiving eye’s light holds solid when you’re not touching it.
- Look for obstructions in the beam’s path – a stored snow shovel, a sagging bottom weather seal, or a loose wire hanging in front of the lens.
- Check the wiring at the back of each sensor for a loose connection or a wire that’s been chewed or pinched.
- If the door is rolling down and reversing at the same spot near the floor, mount a piece of cardboard in the beam and confirm the door reverses – that’s the sensor system working as intended, and the problem is elsewhere (usually the limit settings).
If a sensor fails to hold alignment no matter how carefully you adjust it, the bracket or the sensor itself may have failed. That’s a quick replacement, not a major repair.
Opener Troubleshooting: Remote, Wall Button, and Motor
When the door won’t run at all, the question is whether the opener is receiving the command. There are three ways to tell it to run – the remote, the wall button, and in some homes an outside keypad – and testing each one in isolation narrows the cause fast.
- Wall button works but the remote doesn’t. The problem is in the remote or the radio receiver, not the motor. Try a fresh battery first, then reprogram the remote to the opener. If a second remote also fails, suspect the receiver in the opener’s control board.
- Remote works but the wall button doesn’t. The fault is in the wall control or its wiring. Look for a loose wire at the back of the button and a pinch in the wire run between the button and the opener.
- Neither works, and there’s no sound from the motor. Check the outlet the opener is plugged into, the circuit breaker, and the safety sensors. Many openers won’t even attempt to run if the sensors are out.
- Opener runs but the door doesn’t move. The manual release carriage may be disconnected. Run the opener until the carriage re-engages, or lift the door until it snaps in.
- Door moves but reverses immediately. Travel limits or force limits. Following the opener’s manual for setting travel is usually safe; if the door still reverses after a clean setting, stop – that’s a sign of a door binding or a spring losing tension.
One thing worth knowing about smart openers: if you’ve hooked up a Wi-Fi or app controller and the door has started acting strangely, unplug the controller and test the opener without it. The integration is the last thing to suspect but the easiest thing to rule out.
Repair or Replace? A Boise City Decision Guide
This question comes up on nearly every call, and the honest answer depends on the whole system, not just the part that failed. A few rules of thumb we use:
- One broken spring on an older door: often better to replace the matched pair together. Springs are usually rated to a cycle count, and if one has failed, its partner has lived the same life. Replacing one alone usually means a second visit later.
- Multiple failed components at once (springs, rollers, and opener all in rough shape): the cost of piecemeal repairs starts to stack up, and a replacement door or opener can be the more sensible path.
- Track damage isolated to one side with the rest of the system healthy: repair is straightforward and rarely justifies a new door.
- Panel damage from impact: sometimes repairable section by section on a multi-panel door, sometimes not, depending on the brand and whether the panel is still available. Clopay, Amarr, Wayne Dalton, and Raynor all build doors from replaceable sections, so matching a single panel is often possible.
- Opener that’s twenty years old and failing: parts get scarce, safety features are dated, and replacement usually wins over repair.
If you’re weighing a full replacement, this guide to garage door installation in Boise City walks through what the process involves from measure to first cycle. Replacement is a measured, ordered, and scheduled job, not a same-day fix.
Common Mistakes to Avoid
- Replacing the opener when the door is the problem. If the manual release test shows a heavy door, the opener was never going to lift it. Check the springs and balance before you spend money on electronics.
- Greasing the tracks. Track surfaces should stay clean and dry so rollers can roll, not slide. Lubricant on the track collects grit and makes the door bind worse, especially with Boise City’s dry dusty air.
- Applying the wrong brand’s blink code. A ten-blink pattern on a Chamberlain doesn’t mean the same thing as ten blinks on a Craftsman. Always match the code to your exact opener model.
- Ignoring a track that’s slightly bowed. A small warp turns into a destroyed roller, and a destroyed roller turns into a bent track. Catch it on the sighting check, not after the grinding starts.
- Winding a torsion spring with hand tools. The stored energy in a torsion spring can release instantly. This is the mistake with the most serious injury risk, and it happens because someone watched a video that made it look easy.
- Disconnecting the door and forgetting to reconnect the carriage. If the opener runs but the door stays put after your own repair, check the release cord before anything else.
- Assuming a reversing door means a bad opener. In Boise City’s temperature swings, sensors and limits drift before the motor ever fails. Check the beam and the limits first.
See the difference
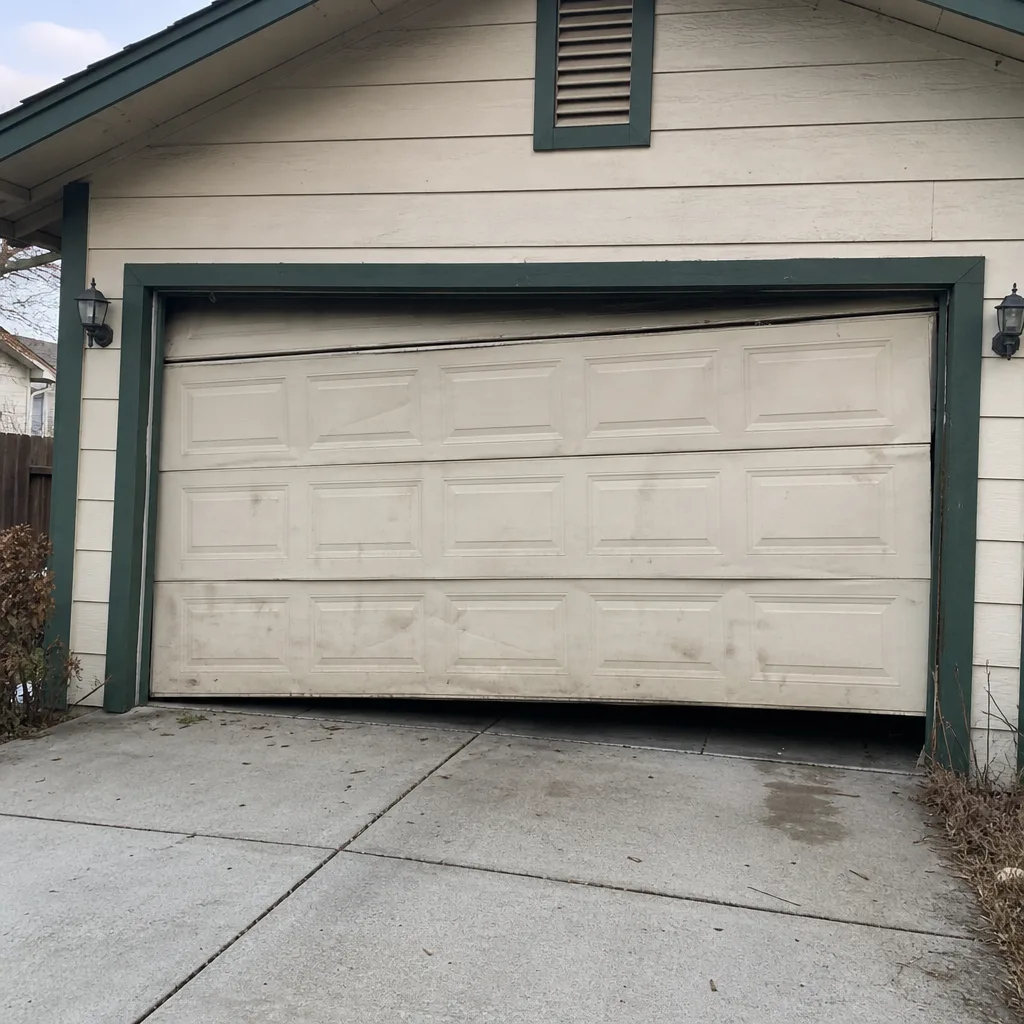 Before
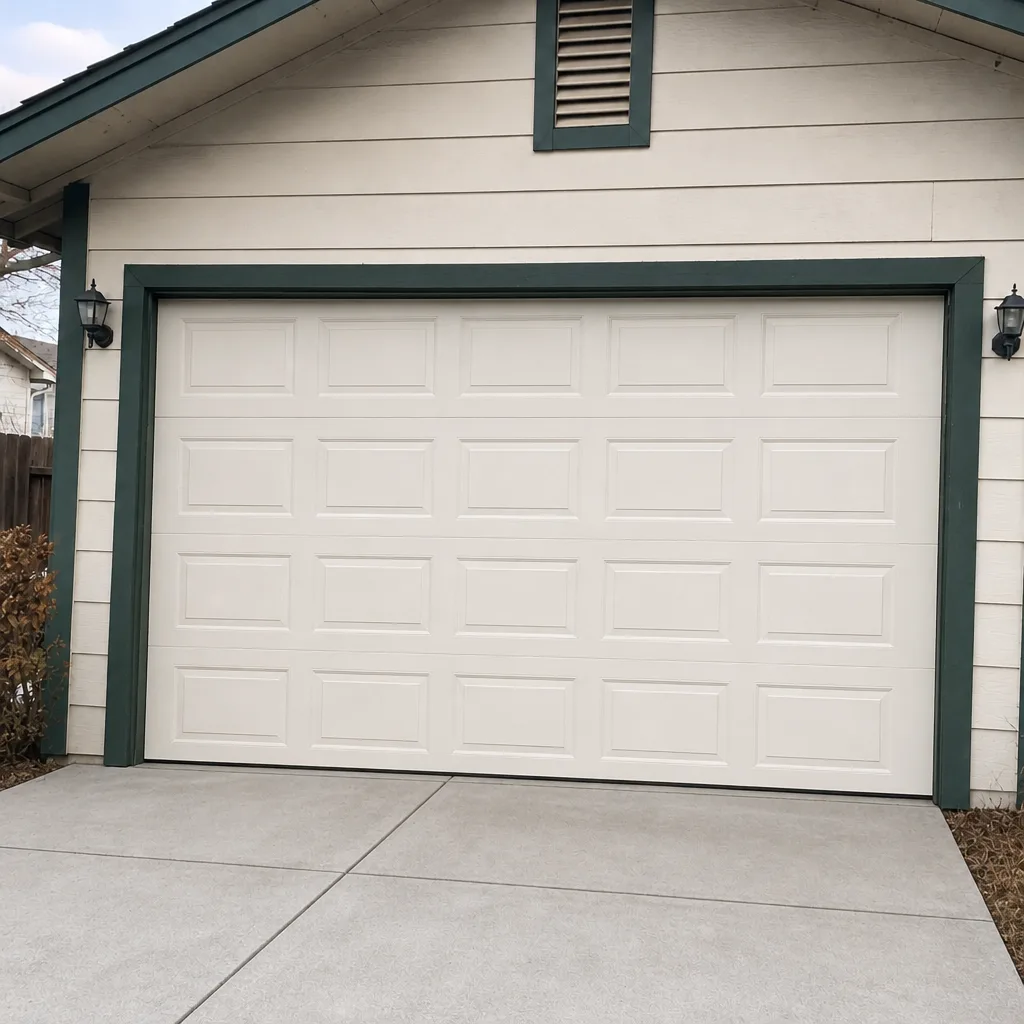 After
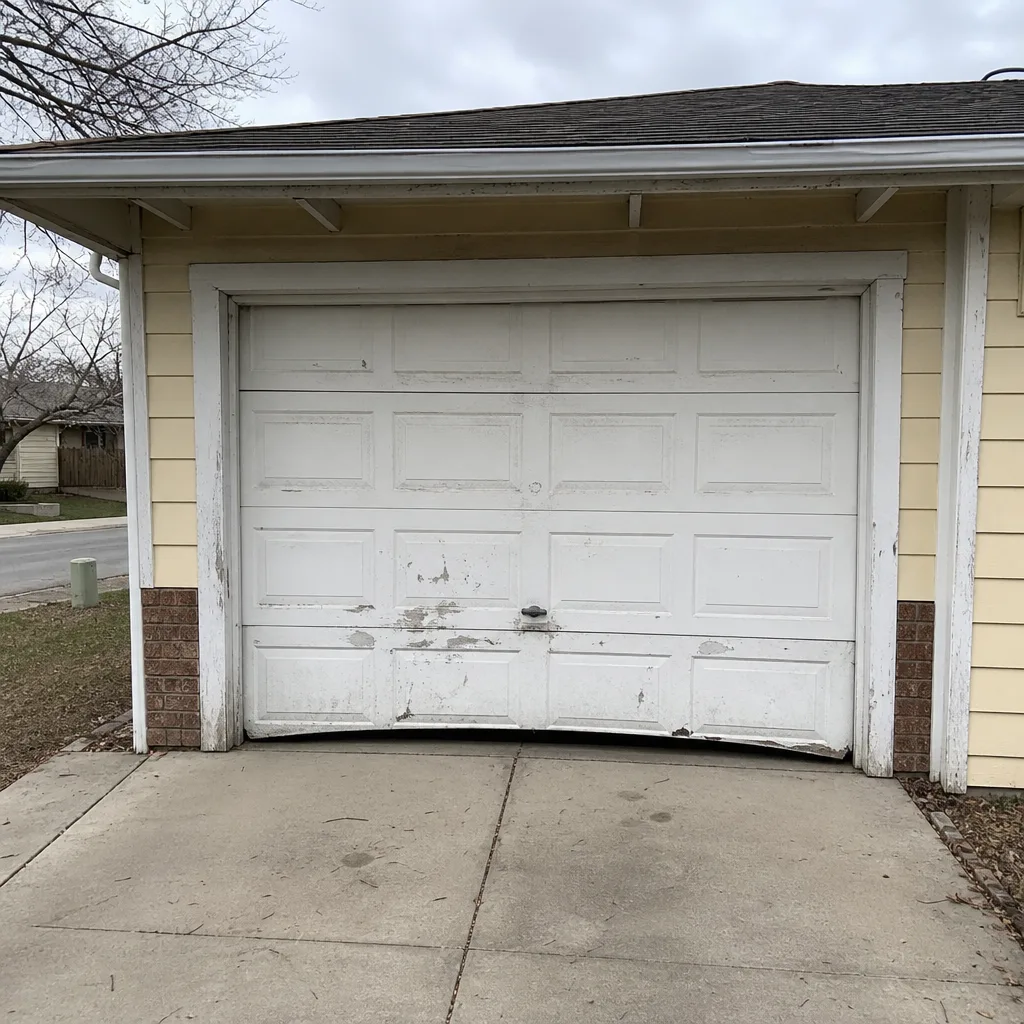 Before
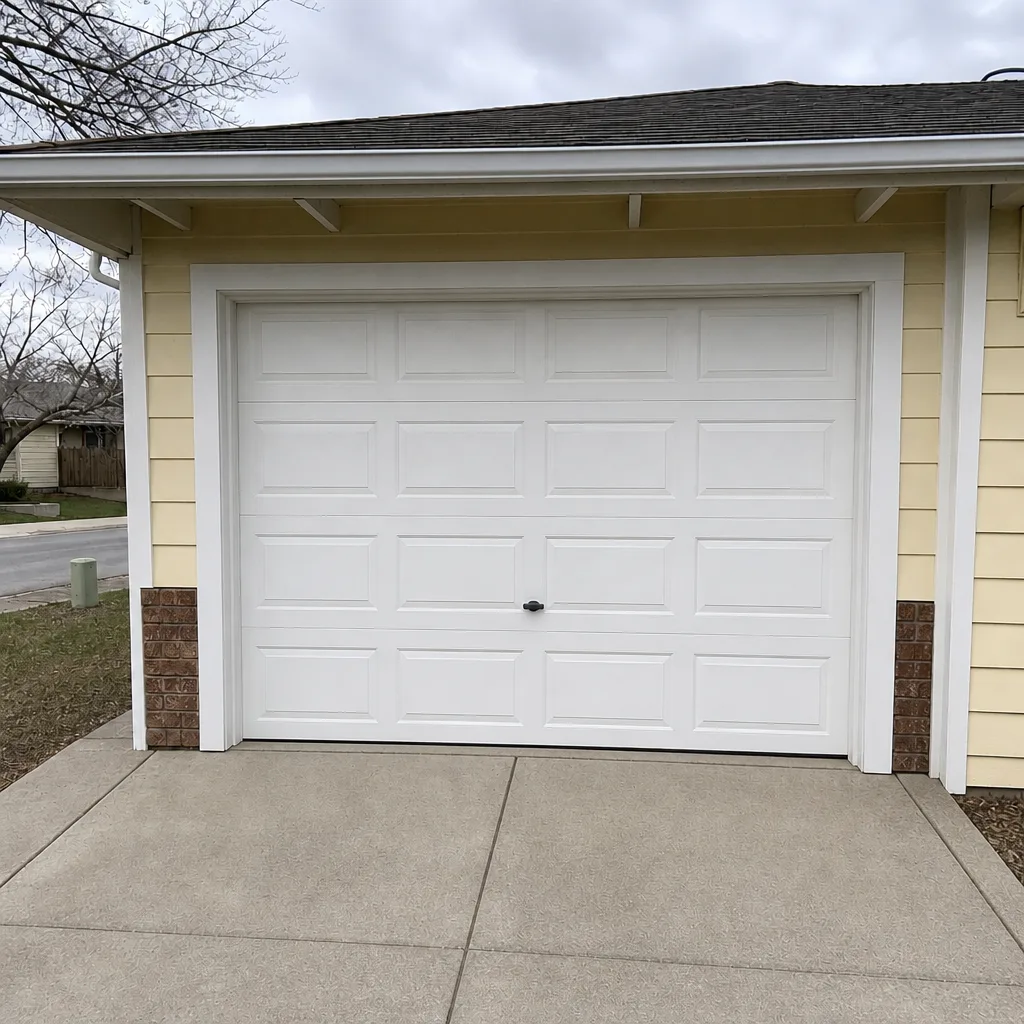 After
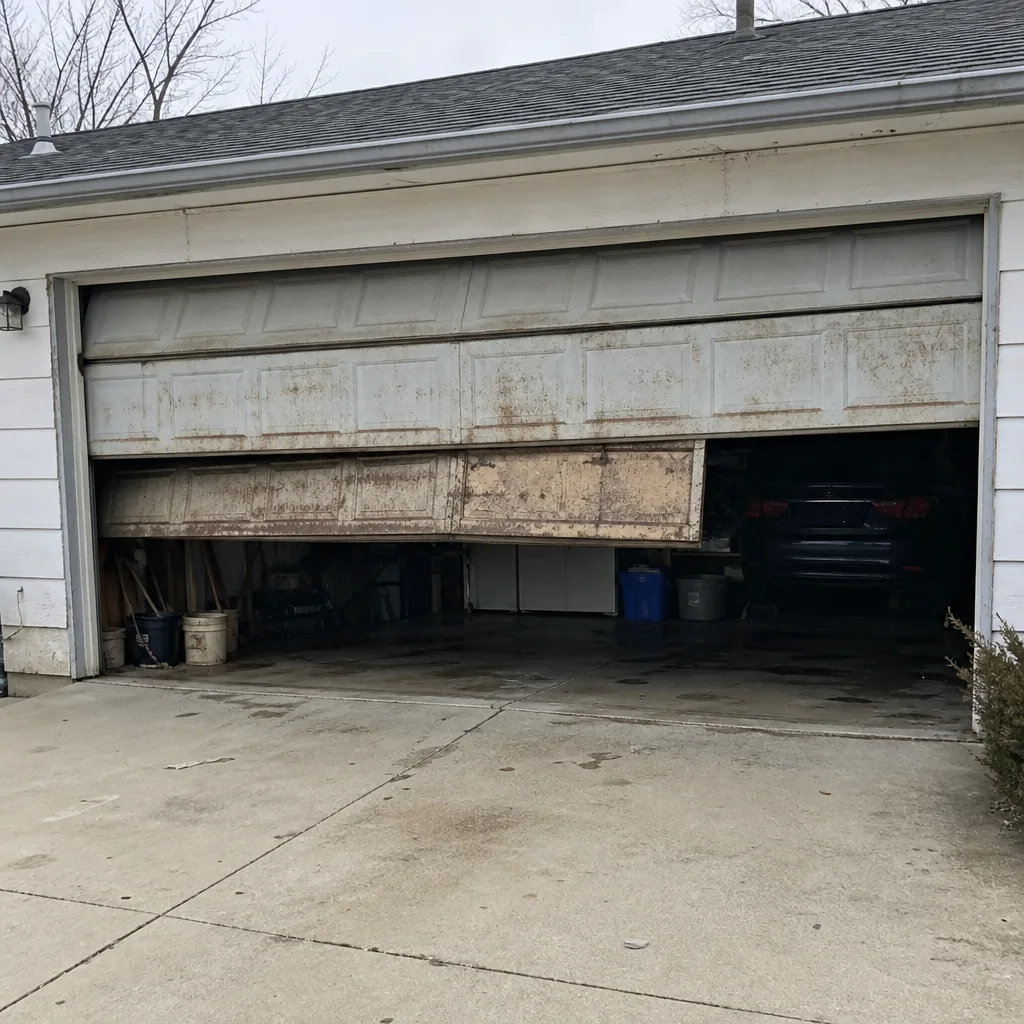 Before
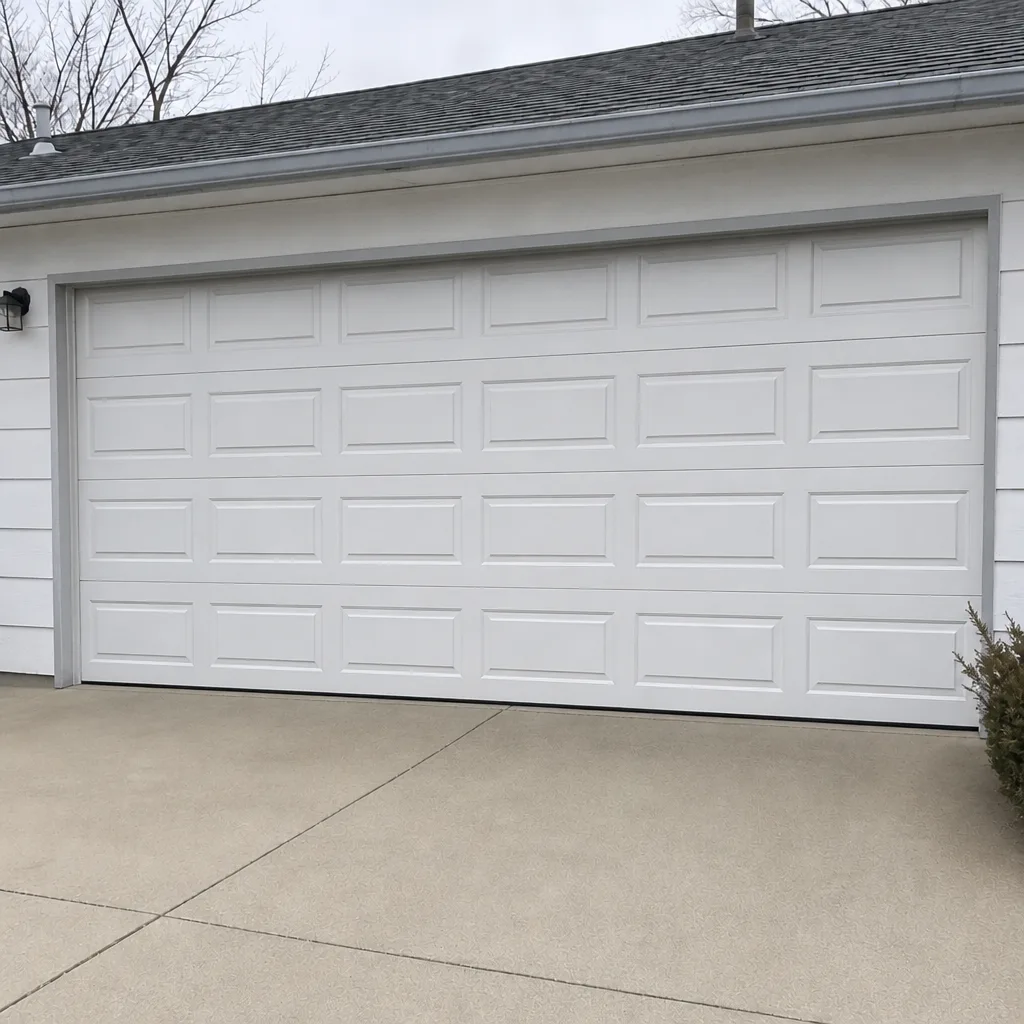 After
When to Call a Professional
Some situations are clear calls. If you see a broken torsion spring, a frayed or slack cable, a bent track that won’t square up, or a door that’s become dangerously heavy to lift, stop working on it and bring in a technician. The same goes for any job that involves opening the opener’s housing, replacing a logic board, or dealing with a door that’s off its tracks. And if you’ve already worked through the diagnostic steps here and the door still isn’t behaving, a trained eye will get to the root cause faster than further guessing. Arbor Garage Door Repair offers free estimates in Boise City – call (833) 467-9147. We answer 24/7. Fast dispatch from 7am to 7pm, Sunday through Friday. Prices are quoted and agreed before any work starts, so the written estimate is the price you pay.
Frequently Asked Questions
A reversing door is almost always a safety sensor or travel limit problem, not an opener failure. In Boise City’s freeze-thaw cycles, temperature contraction shifts the sensor brackets and pulls the limit settings out of position, which is why the door often starts reversing after a cold snap. Check the sensor lenses for dust and alignment first, and if the beam is clean and solid, suspect the travel limits. If both look fine and the door still reverses, call (833) 467-9147 for a free estimate – the door may be binding or a spring may be losing tension.
Replacing one torsion spring in Boise City typically runs somewhere in the $180 to $340 range for the spring itself, and a matched pair is usually replaced together, so a pair costs about twice that. Exact pricing depends on the door’s weight and spring size, and the written estimate sets the final number. Call (833) 467-9147 for an exact quote – estimates are free and the price is agreed before any work begins.
No. Torsion springs and cable drums hold the door’s full weight under stored tension, and if that tension releases unexpectedly, the result can be serious hand, arm, or face injuries. We strongly recommend a trained technician for any spring or cable work – this is the one repair where the risk is genuinely not worth it. Call (833) 467-9147 and we’ll take it from there.
It depends entirely on the brand. A LiftMaster or Chamberlain blinking ten times usually points to a safety sensor system fault – a blocked beam or disrupted sensor wiring. A Craftsman, Wayne Dalton, or Raynor opener showing a similar pattern may be reporting a remote programming or travel limit issue instead. Find your opener’s model number and check that model’s manual, or call (833) 467-9147 and tell us the brand and the pattern – we work on all eight major brands and can point you in the right direction.
We recommend you always confirm a specialist is insured before letting anyone work on a spring system or opener. We’ll note our credentials when you call, and we can work with your insurer. Our technicians have up to experience and we only work on garage doors. Call (833) 467-9147 to confirm details and to get a free estimate.
No – the price you agree to in the written estimate is the price you pay. Our estimates are free, we diagnose before quoting, and any additional work is agreed with you before it starts. If the door needs something beyond the original estimate, we’ll explain why and get your approval first. Call (833) 467-9147 to book a free estimate.
The Bottom Line
Diagnosing a garage door starts with reading the behavior, not guessing at parts. A reversing door is usually sensors or limits. A stuttering door is usually spring tension or a binding track. A grinding door is usually a roller or a warped track. A silent door is usually power or electronics. In Boise City, freeze-thaw cycles amplify all four, so the same cold snap that shifts a sensor bracket can shift a track bracket – check them together, not one at a time. Handle the safe repairs yourself, and leave the springs and cables to a specialist who knows the risk. When you’re ready for a second set of eyes, Arbor Garage Door Repair is here in Boise City and standing by at (833) 467-9147.
Written by the team at Arbor Garage Door Repair.